
Tutorial: Search and Swipe
To find widgets in the atlas, see the user guide.
This tutorial will walk you through how to:
- search for a study area
- use the Swipe widget to compare and contrast layer features on a map
Step
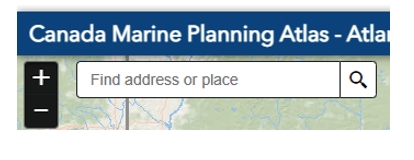
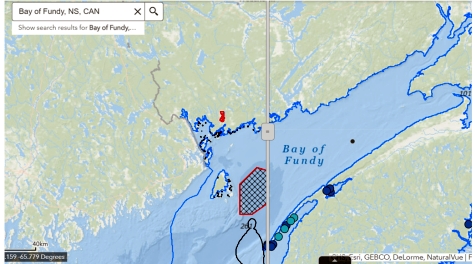
- Locate the Search box in the top left corner of the atlas. Search allows you to navigate to specific areas on a map. Type in the location of the place you want to explore. A drop down list will appear and you can pick the desired location.
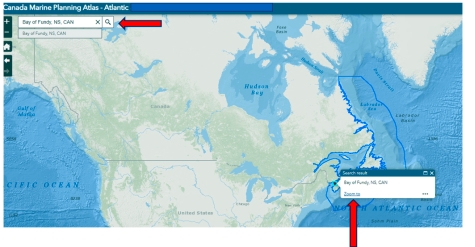
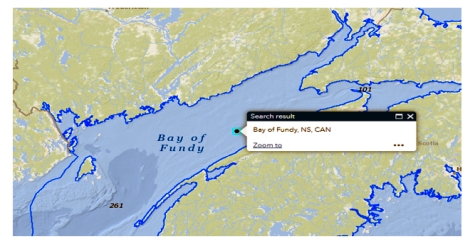
- In this example, we have typed in the Bay of Fundy, Nova Scotia, Canada. After clicking on the magnifying glass icon to the right of the Search box, a pop-up screen will appear. If you click the Zoom to hyperlink in this pop-up window, it will bring you directly to the location of interest.
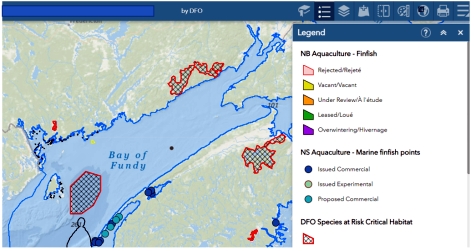
- Once you have navigated to your location, you can now add layers to the map using the Layer List widget. Once you've added your layers, you can go back to the Legend widget and view what you selected.
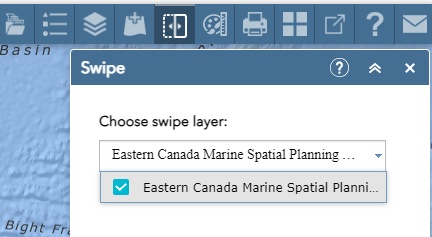
- Select the Swipe widget. Decide which layer you want to view. For example, you may want to compare before and after imagery of critical species at risk in the Bay of Fundy. From the drop down menu select the layer you want to compare.
- A vertical swipe bar will appear (shown by yellow arrow). You can click the centre of the rectangle in the middle of the vertical grey line to move the line left and right to compare the layers.
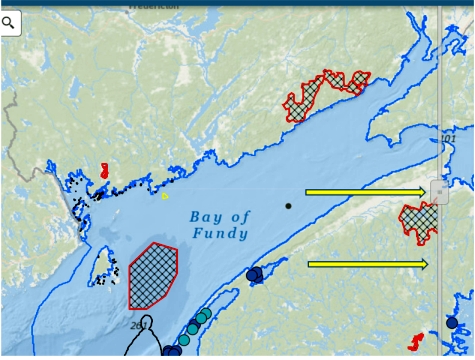
- Drag the swipe bar across the screen. It can go either left or right.
- Date modified: